This seems to be one of the most common that recipes I am asked for. It’s a simple process and a great way get started in pressure canning. A single, relatively inexpensive ingredient that provides you with an easy to use and very versatile result.
My jars of potatoes are most commonly used for hashbrowns by simply frying in some butter or oil and adding spices (our family favorites are homemade seasoning salt or ranch). I also love having them on hand when making soups or stews because they are already cooked, which significantly cuts down the cooking time.
Try them in this delicious potato bacon soup!

My first choice of potatoes is russet, but you can use any type. Starchier potatoes may leave a layer of starch in the bottom of the jar after the canning process. You can rinse it off or leave it when you a ready to use the potatoes.
1) Give your potatoes a good scrub. This step is especially important if you aren’t peeling them.
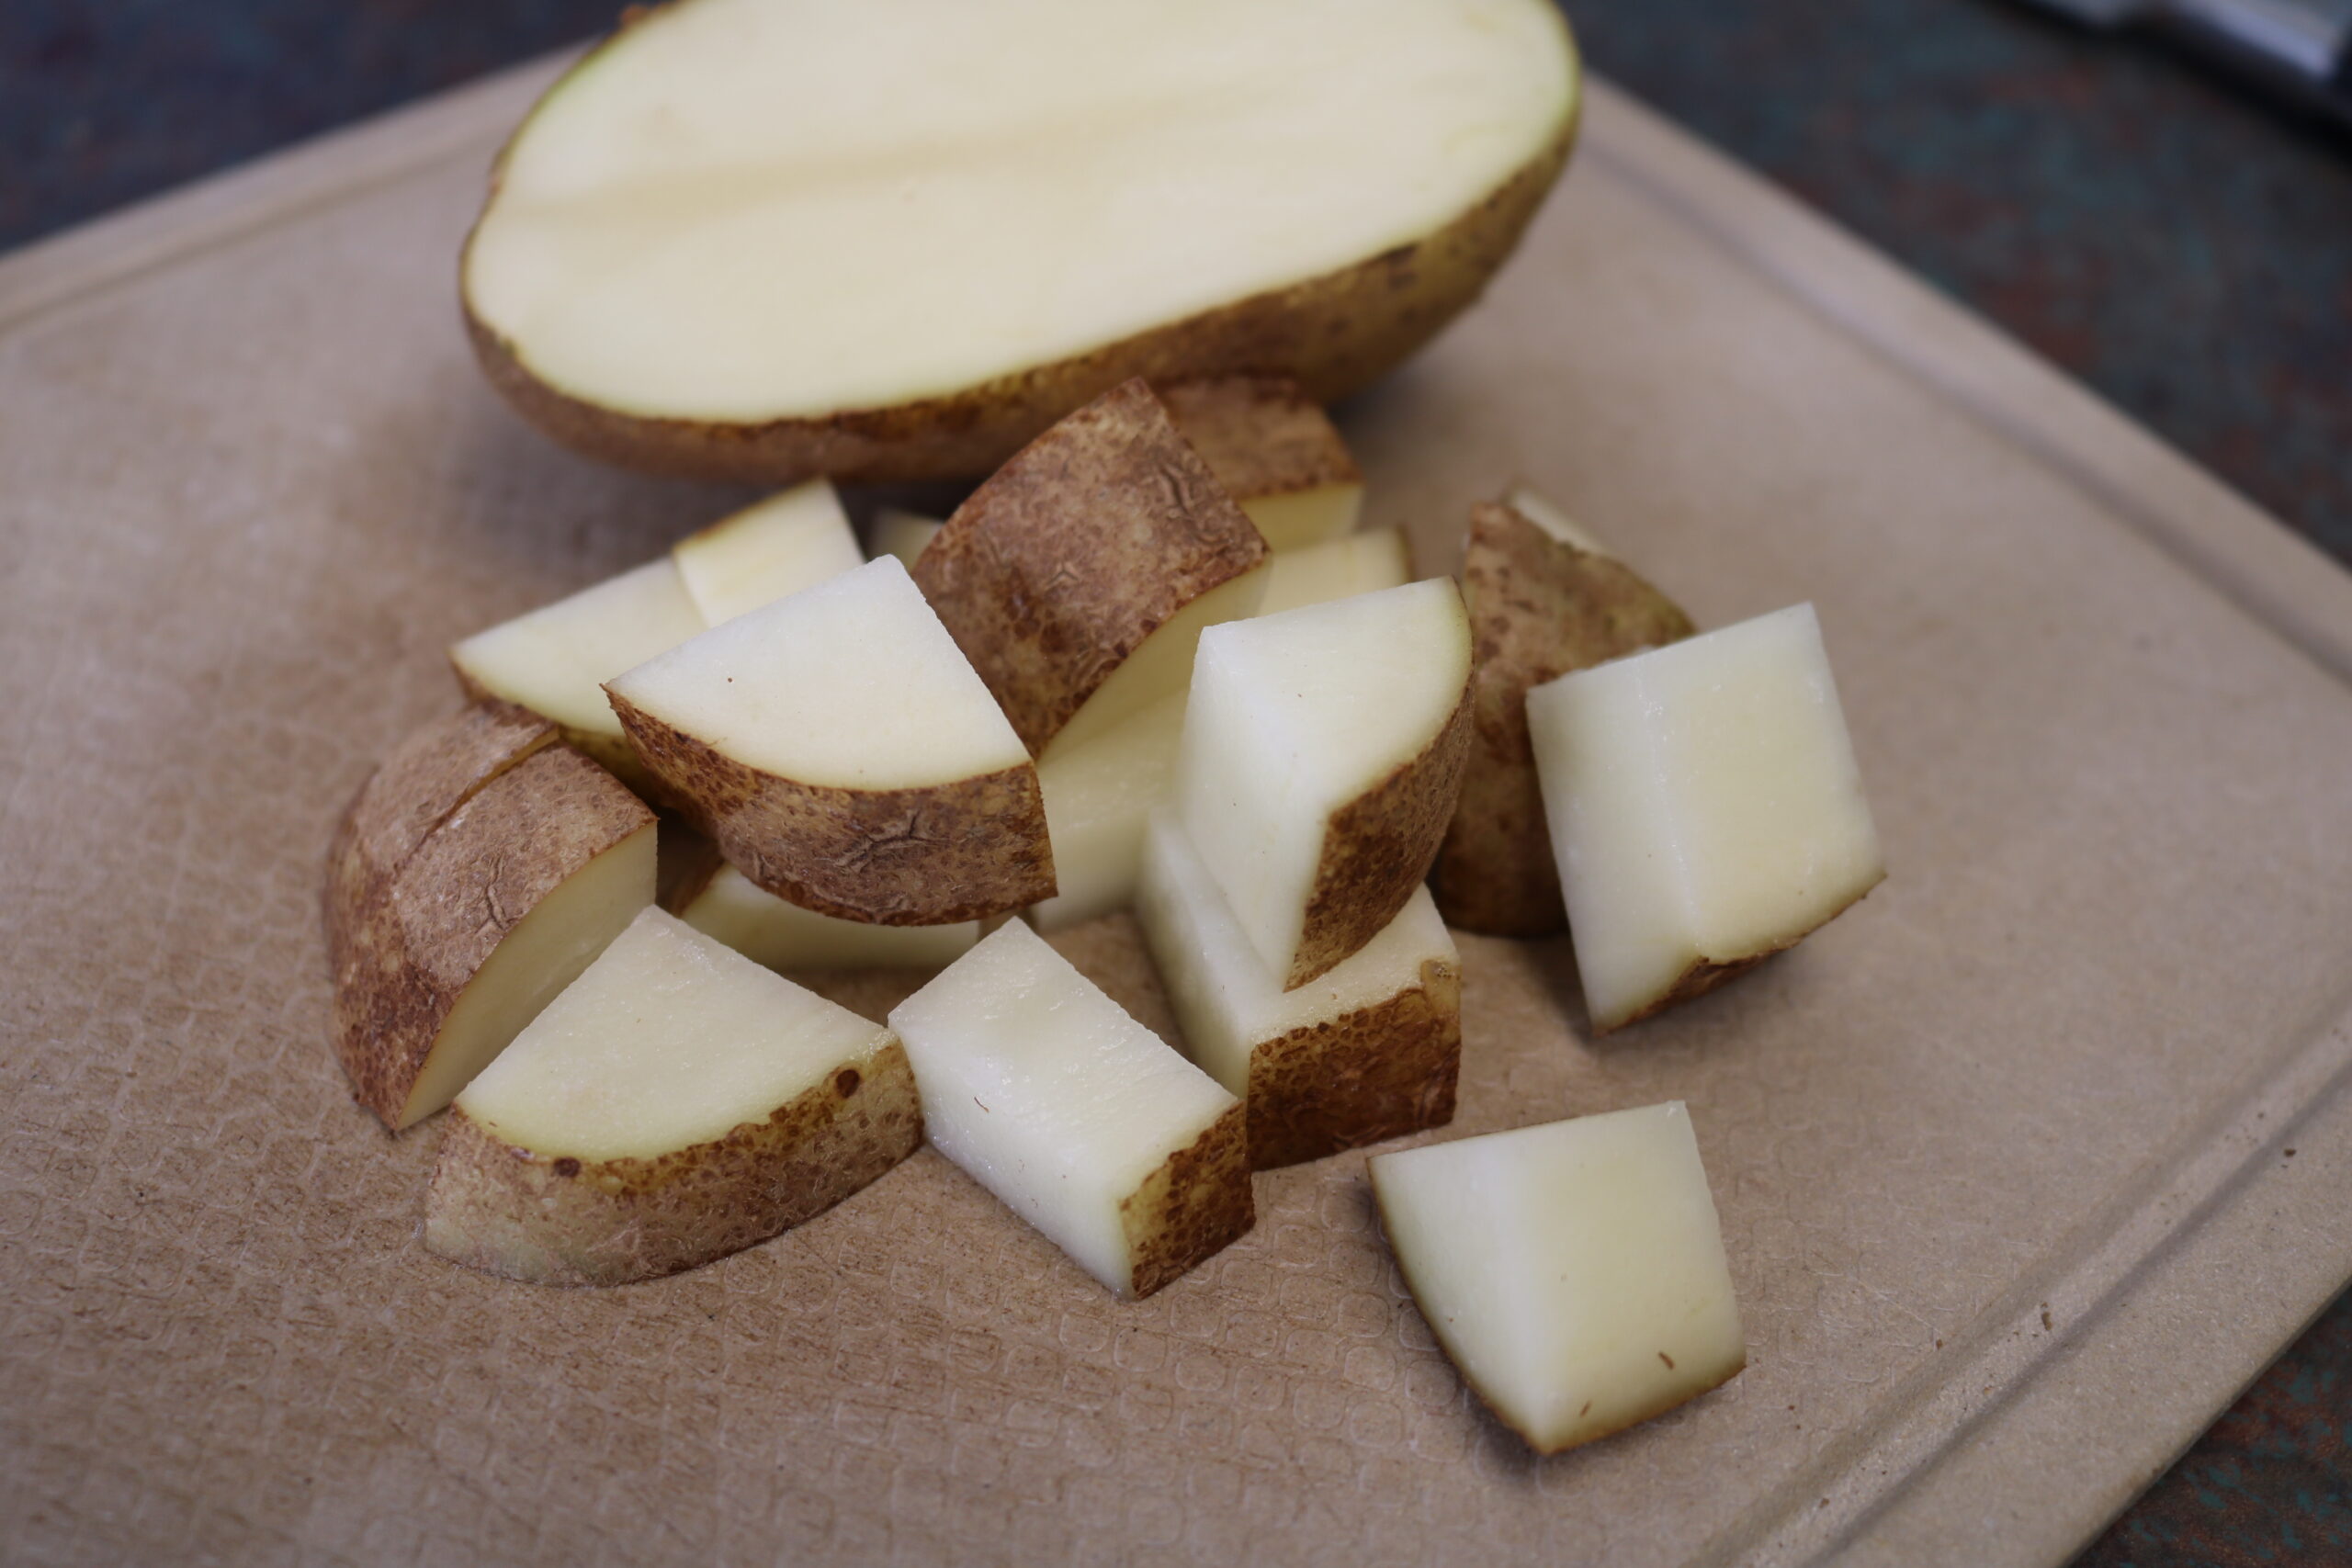
I despise peeling potatoes, so the peels are always left on mine. It is completely personal preference and doesn’t make a difference to the process of canning them. Plus, the peels contain high levels of antioxidants, vitamins and minerals. Removing the skins eliminates the majority of fibre and iron as well as a significant amount of the riboflavin, vitamin C, and calcium.
2) Chop the potatoes. I find 1″ cubes seems to be most versatile in our home, but any size or shape will work. This will be totally dependent on what you plan on using the finished product for.

3) Stuff your jars! Fill your jars (quarts or pints) as full as you can. Since you won’t be adding liquid, the requirement for headspace isn’t as important. I find banging the jar on a folded tea towel as you are filling helps to pack the pieces down so you can fit more in.
If you wish to add spices or butter, this is the time to do it. I tend to leave them plain to allow for more versatility, but the addition of butter and garlic is also a family favorite. Chopped bell peppers, onions, and mushrooms are also a great way to add flavor.
4) Clean the rims of your jars with vinegar on a paper towel or cloth. Apply the lids and secure with rings.
5) Load the jars into your canner and pressure can for 35 minutes (for pints) or 40 minutes (for quarts).
If you are using the Carey or Nesco Electric Pressure Canner follow steps 6-10. For other pressure canners, follow the specific instructions for your canner.
6) Load jars onto the wire rack in your canner. Fill with cool water until it is 1/4 to 1/3 of the way up the jars (approximately 8 cups).
7) Close and lock the lid. Turn the pressure limiting valve to ‘exhaust’. Be sure you are using the correct valve for your elevation.
8) Press the ‘high’ button, then use the ‘time + or -‘ buttons to set it for 35 or 40 minutes (depending if you used pints or quarts). Press start.
9) The lights on the display will circle around clockwise as the canner heats up. You will hear a beep and ‘E10’ will appear on the screen starting a countdown for 10 minutes. When the countdown is finished the canner will beep again. This is when you flip the pressure limiting valve to ‘airtight’.
10) At this point you can leave the canner to complete the process. Allow the pressure to come down naturally (do NOT flip the pressure limiting valve to ‘exhaust’ when the time is up).
11) Remove jars from the canner and allow to cool for 24 hours. Once jars are cooled, remove the rings, wash the jars, and label.
If you’d like to add an electric pressure canner to your kitchen appliance inventory, this one is my fav!
Having a stock of canned potatoes makes meal times quick and easy. These are a go-to side dish during our season of busy evenings. I love knowing we can enjoy our home (or locally) grown potatoes at any time of the year!
This post contains affiliate links, which means I make a small commission at no extra cost to you.


