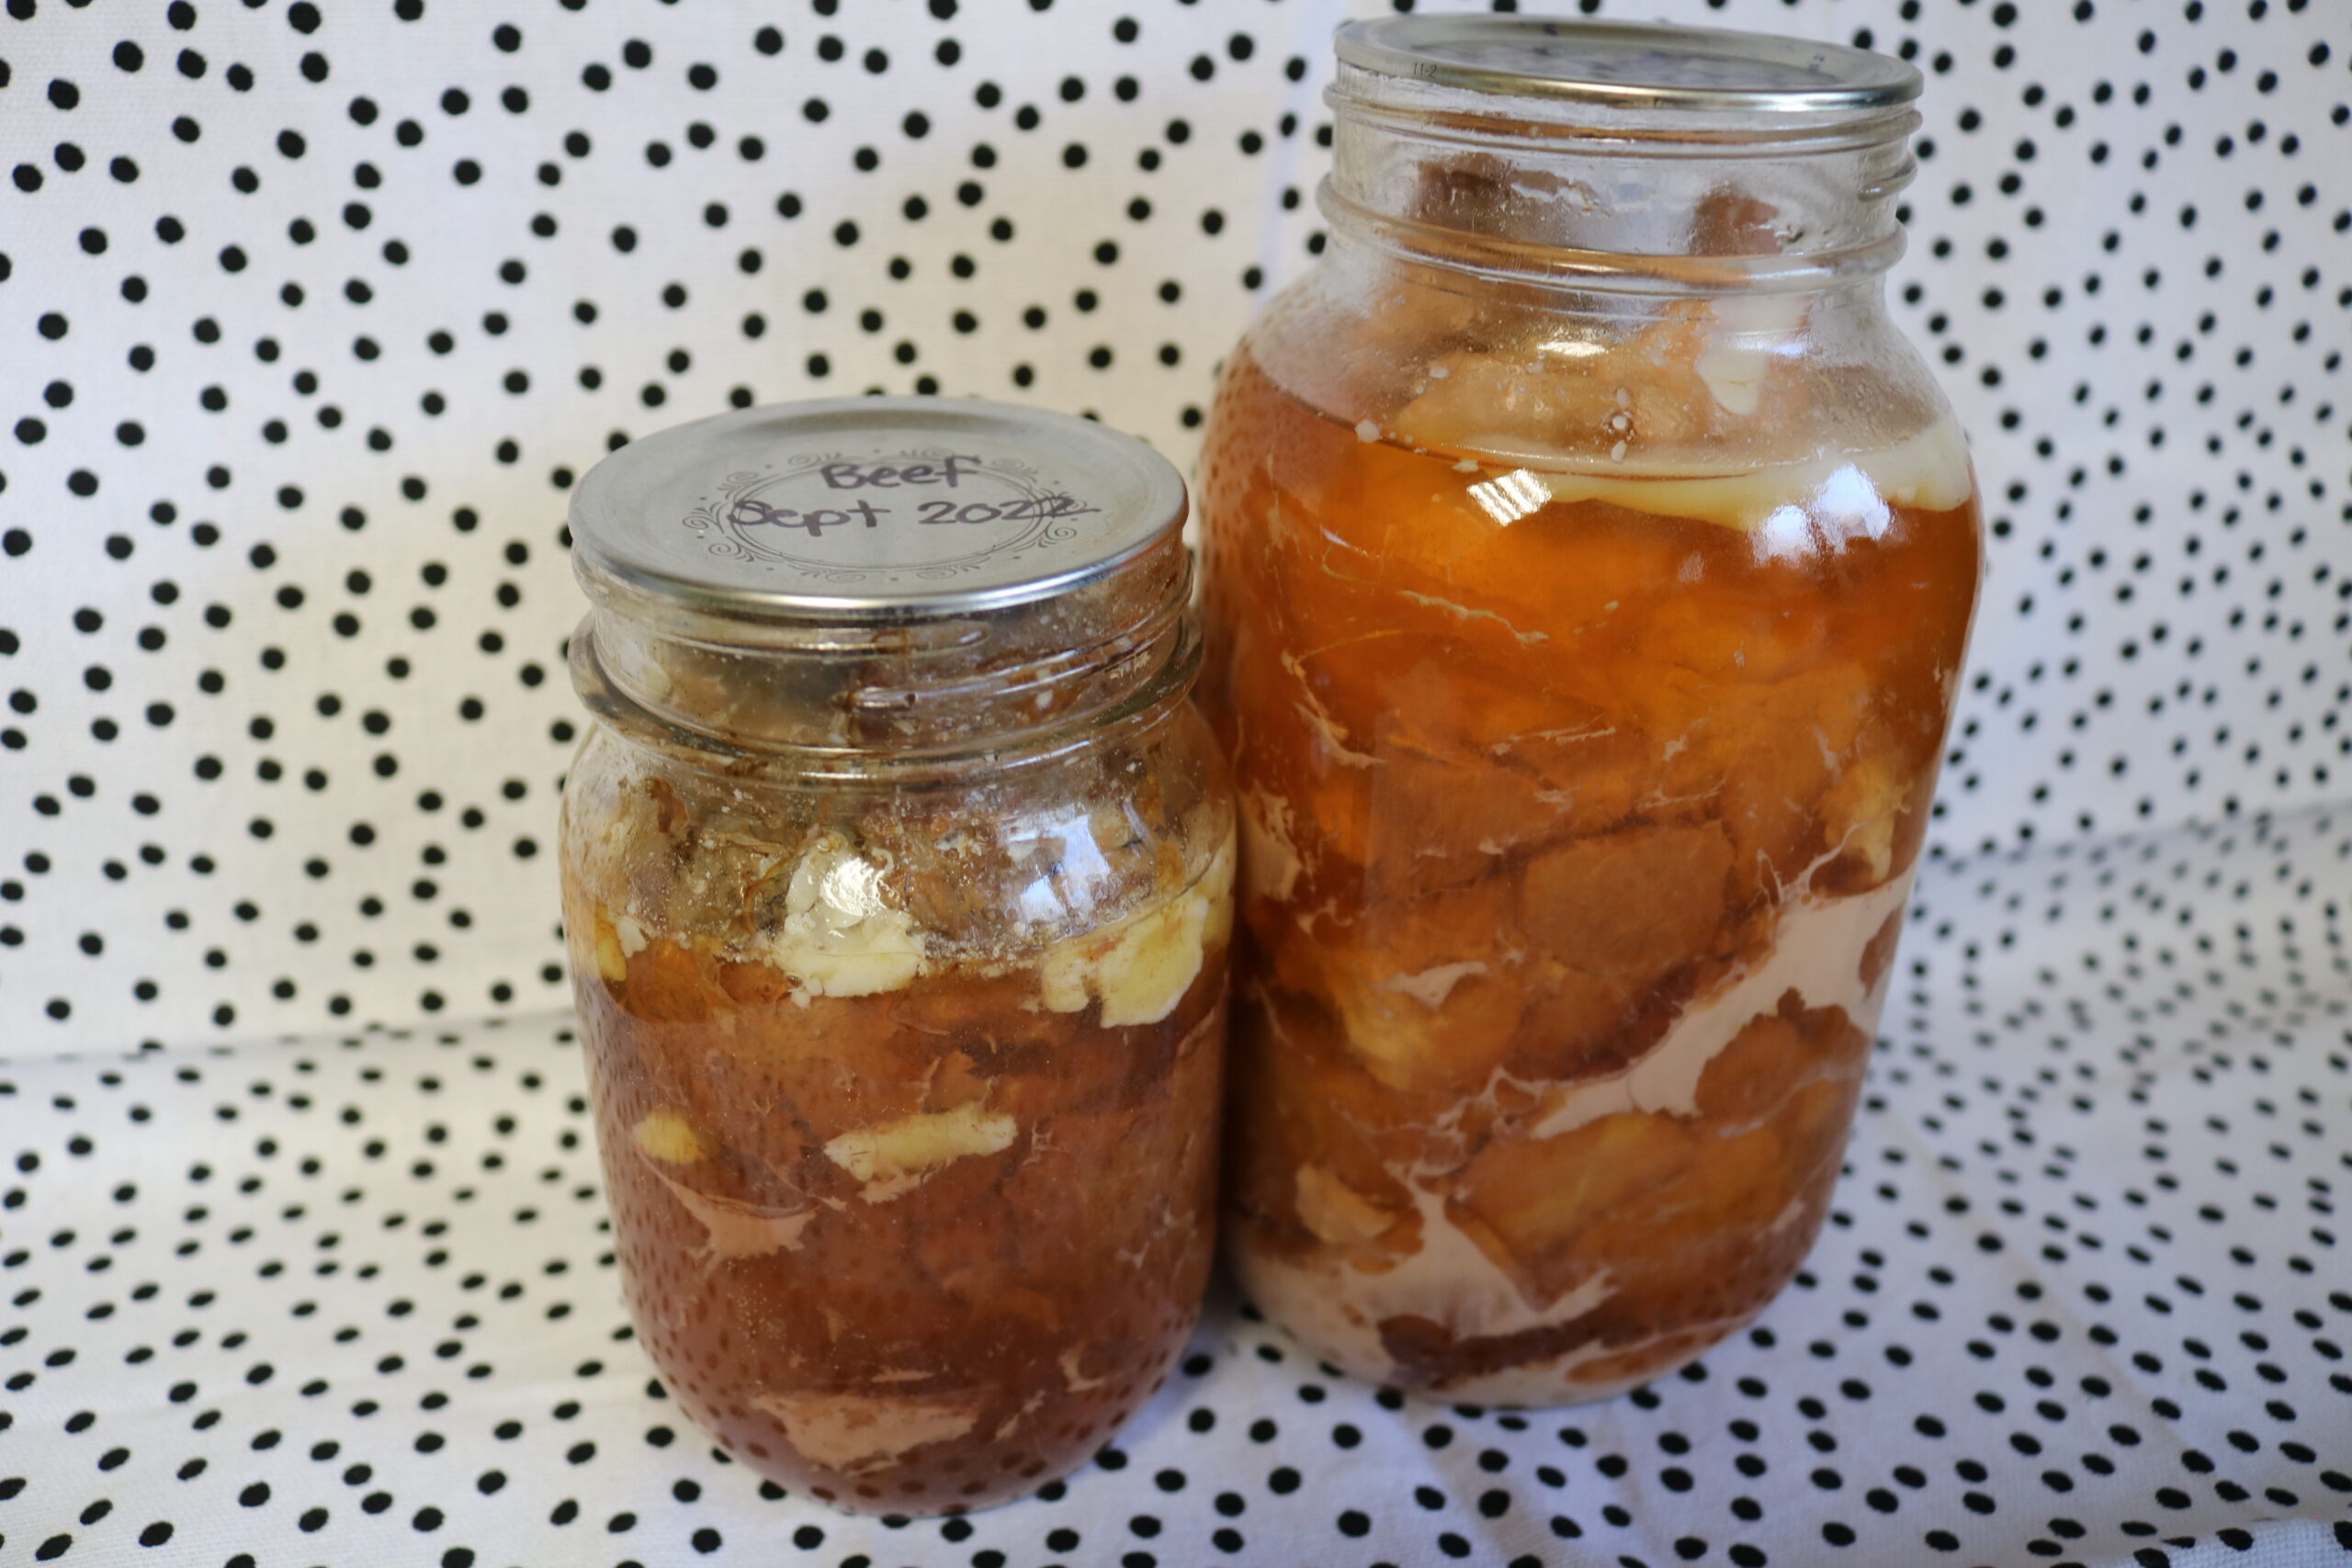
This may be my absolute favorite item to can! Not because it is a spectacular recipe or anything fancy at all, because it makes my life so easy! I don’t have to remember to take anything out of the freezer to thaw and I don’t even have to cook it.
Having the option of pre-cooked meats on busy evenings or days when you just don’t feel up to cooking is amazing. Imagine being able to ‘whip up’ homemade pulled pork sandwiches with a side of potatoes (canned by you as well) in under 15 minutes. Not only is this faster than most frozen meals you buy, you know exactly what the ingredients are because you made it! And a huge bonus, shelf stable foods don’t take up room in your freezer.
When you open a jar of your canned meat the pieces will fall apart into shreds, making it ideal for pulled pork, soups, stir fry, or fried rice. The liquid in the jar makes a delicious gravy or addition to your recipe. Even some of the toughest pieces of meat come out tender and flavorful.

Now, you’re probably wonder what kind of prep goes into canning meat. The answer is very little.
So how do you accomplish this?
Simply chop your meat of choice into 1-2″ pieces. The size isn’t terribly important because it all comes out shredded anyway. Fill your jars right to the top with the pieces of meat. You can don’t have to be concerned about headspace because you won’t be adding any liquid. You can add seasonings during this step. I choose to leave it plain so that the end result is as versatile as possible.

Wipe the rims of your jars with vinegar on a cloth or paper towel. This helps to remove any oils or other substances that can affect the seal. Seal with lids and rings.
Load the jars in your pressure canner and can for 75 minutes (for pints) or 90 minutes (for quarts).

If you are using the Carey or Nesco Electric Pressure Canner follow these steps. For other pressure canners, follow the specific instructions for your canner.
Load jars onto the wire rack in your canner. Fill with cool water until it is 1/4 to 1/3 of the way up the jars (approximately 8 cups).
Close and lock the lid. Turn the pressure limiting valve to ‘exhaust’. Be sure you are using the correct valve for your elevation.
Press the ‘high’ button, then use the ‘time + or -‘ buttons to set it for 75 or 90 minutes (depending if you used pints or quarts). Press start.
The lights on the display will circle around clockwise as the canner heats up. You will hear a beep and ‘E10’ will appear on the screen starting a countdown for 10 minutes. When the countdown is finished the canner will beep again. This is when you flip the pressure limiting valve to ‘airtight’.
At this point you can leave the canner to complete the process. Allow the pressure to come down naturally (do NOT flip the pressure limiting valve to ‘exhaust’ when the time is up).
Remove jars from the canner and allow to cool for 24 hours. Once jars are cooled, remove the rings, wash the jars, and label.

Taking advantage of this preservation method can save you time, money, and effort down the road. Whether you are stocking up on a grocery store sale, preserving your hunting harvest, or preparing for a busy season ahead, canning is a great option.
This post contains affiliate links, which means I make a small commission at no extra cost to you.


